How to Change Java Version for Your Minecraft Server
Most servers do not need this. The correct Java version is handled automatically. Only change Java manually if your server fails to start and logs show a version-related error or a plugin/mod requires a specific Java version.
When to Use This
- Server won’t start and the log mentions an unsupported or missing Java version.
- A specific plugin/mod requires Java 8, 11, or 17.
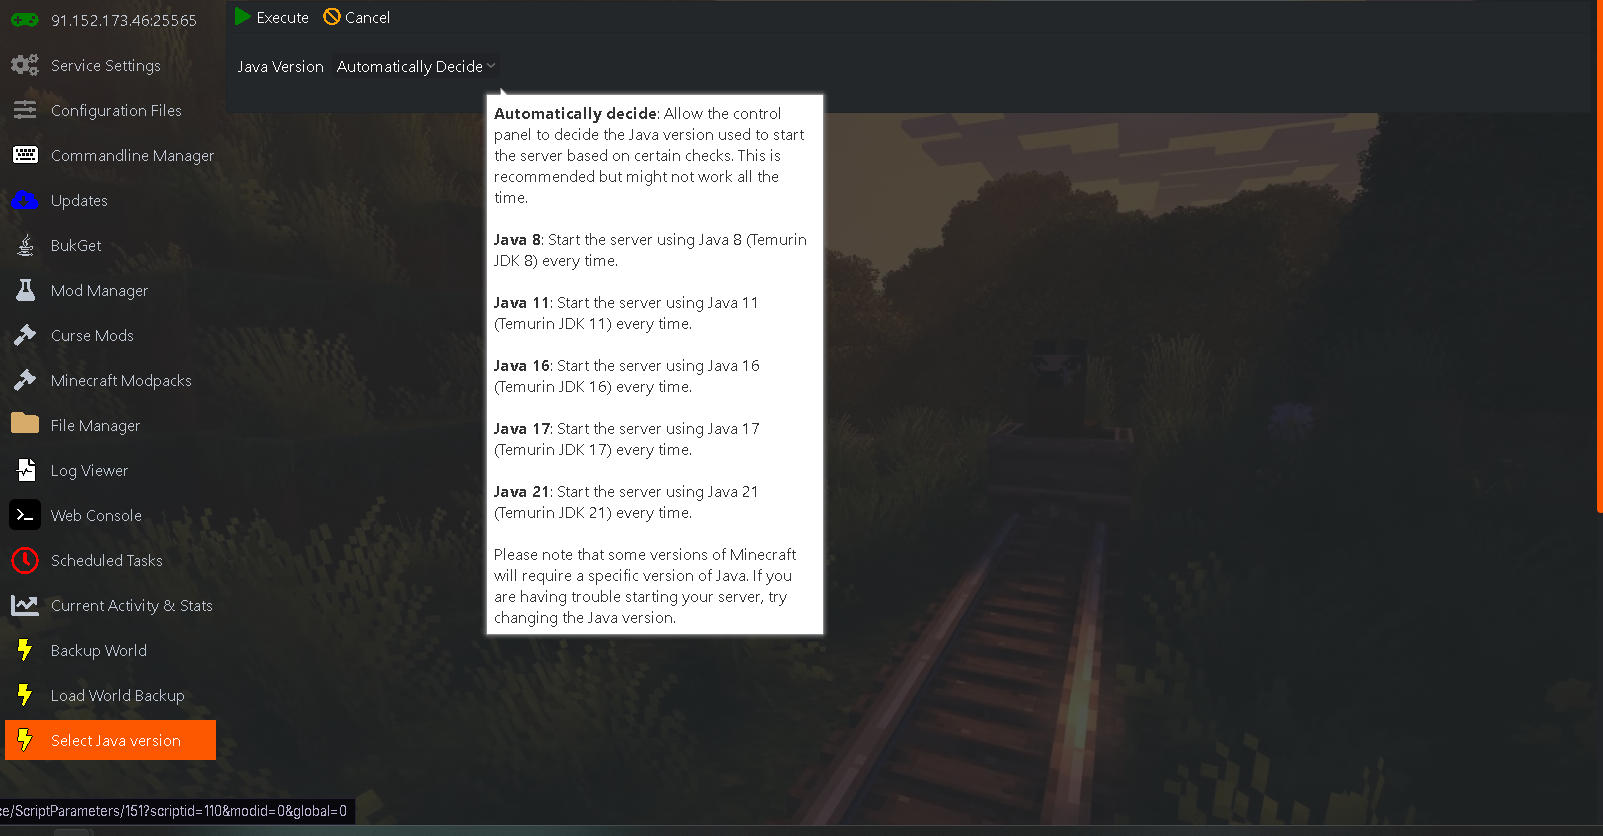
Change Java Version (Only If Needed)
- Stop the server.
- Click Select Java Version in the side menu.
- Choose the required version (e.g., Java 8 / 11 / 17) and save.
- Start the server.
Check the Console
- Open Web Console.
- Confirm the Java version in the startup lines.
- If errors persist, review Log Viewer and revert to the last working Java version.
Tips
- Only change one thing at a time (Java, then test).
- Back up before big changes.
